My middle schooler recently made a large crystal using borax, water, food coloring, and pipe cleaners for his science class. It was a really fun project that he extended into making an ornament. It’s very passive and simple but gives fantastic results! With just two ingredients, heat, a piper cleaner, a stick and a jar, he made an easy crystal homemade ornament. This is a great activity for bored kids over the holiday break! This a fun and simple DIY project that kids will love! As will parents because it’s very easy to accomplish. The bonus is the crystal form quickly.
This website uses affiliate links. A commission may be awarded to this website from purchases made through links, which is at no added cost to the consumer, but goes to support this website. Thank you!
This makes a great homemade gift as well! And a wonderful keepsake to hang on your tree every year.

Easy DIY Homemade Ornament Kids Can Make!
This is so simple my middle school son did this entirely on his own. He had the experience of making a larger crystal for a school project, and one day he got the idea of making an ornament. He set out to do it and within minutes he was growing crystal in the shape of a tree!
What you will need:
- borax (we found this detergent/cleaner at Walmart)
- water
- an empty jar
- a stick or pencil
- tin foil
- pipe cleaner
- a cookie cutter to help with shaping the ornament’s structure, or freestyle form it if you desire
- food coloring (optional)
- a heat source
- a piece of string for hanging the ornament
Here’s a link to borax on Amazon. But we found it to be cheaper at Walmart.
How He Made the Crystal Homemade Ornament:
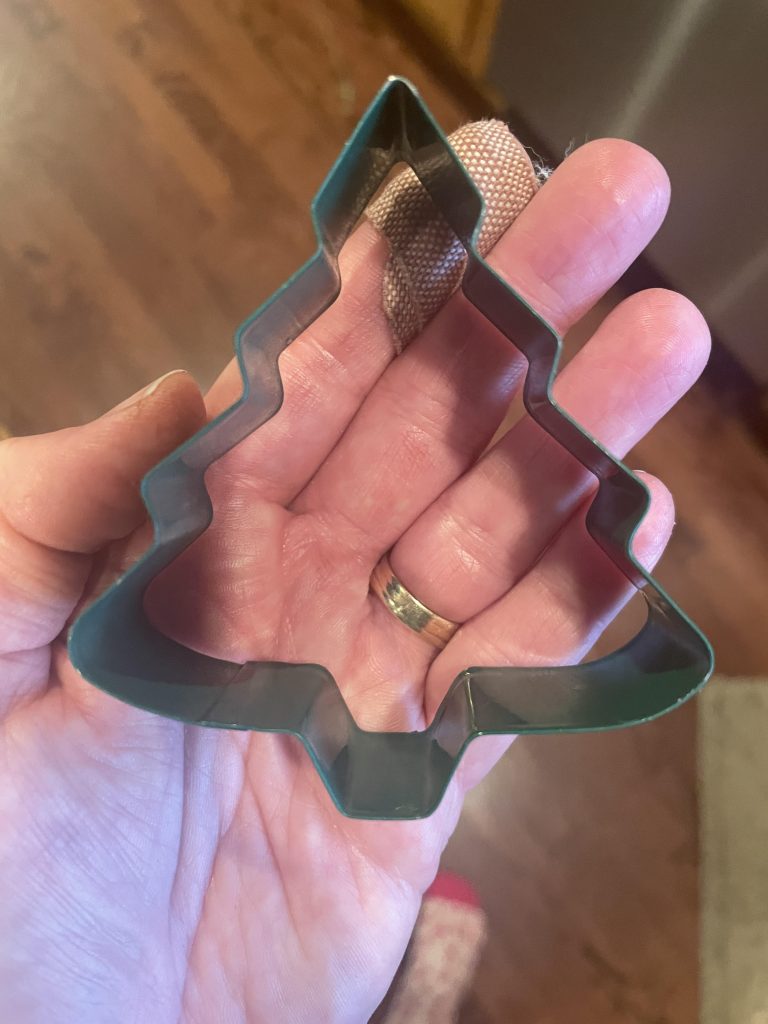
He shaped a green pipe cleaner into the shape of a tree by forming it around a cookie cutter. Then he tied a string to the pipe cleaner.
Next, he prepared the borax. He used a formula for water to borax in a ratio of water to borax of 4 to 1 (so if you use 4 cups of water, use 1 cup of borax).
Next, he boiled the water in a pot. Once it got to a boil, he removed it from the heat and added the borax. He stirred it a lot to help it dissolve. [Add food coloring if desired next. It may require a lot of food coloring, his large crystal did. He didn’t add food coloring to the ornament.]
After it is cooled off a bit (like 15 minutes or so), then we poured the hot water and borax solution into an empty glass jar.
He placed the shaped pipe cleaner inside the jar, having it hang on a pencil, with the pencil resting on the rim of the jar. Note: You must ensure the pipe cleaner does not touch the sides or the bottom of the jar and is completely submerged.
Then he covered it with a piece of foil.
Then just wait! And observe the quick crystal growth.
For the final stage, it just sits on the counter and crystals form. He let it sit overnight.
Then when you are happy with it, and it seems to be done adding crystals, use the string to hang it on your tree! It’s that easy!
Make Sure a Parent is Present for Supervision and Assistance and Other Tips
Younger children may need help, especially if they are too young to be careful around a hot pot of water.
Be sure to choose the color pipe cleaner you want because it will be visible through the crystals. You can add food coloring if you desire. He did not add food coloring to the tree ornament.
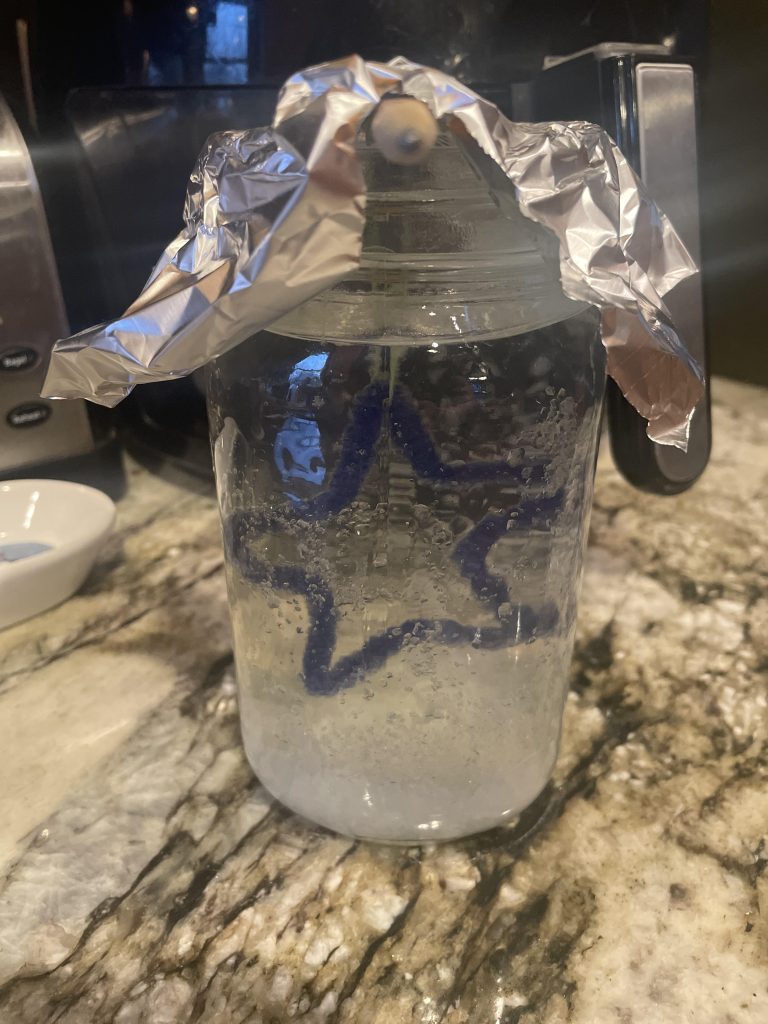
See the image below where he made a blue pipe cleaner into a star. For this star, he reused the same solution, but got way less crystal formation on the pipe cleaner. For the outstanding crystal forming results of the tree, make sure you start from scratch rather than reusing the same solution, however, it does still work to re-use. Just make sure you realize you will get way less crystals when re-using the solution.
We hope you enjoy making your own homemade ornament! Get creative!
Bonus! It’s a super easy cleanup!
This project is an easy cleanup because it’s just the borax soap and water, but the crystals will be hard and adhered to the walls. But have no fear! Just heat it up again and dump it out once the crystals on the walls disintegrate back into solution. We poured it outside and it came right out. I simply washed the big canning pot for the big school project crystal (the jar for the ornament) with pretty minimal need for scrubbing.
But! A Warning! If the borax and water fluid sits on finished wood, it will take the varnish/stain off. Unfortunately, some of the solution rested on our table and now we have a light spot. So, make sure to do it on a granite countertop or lay down a thick towel, or something else to protect the surface of wood.
His School Crystal
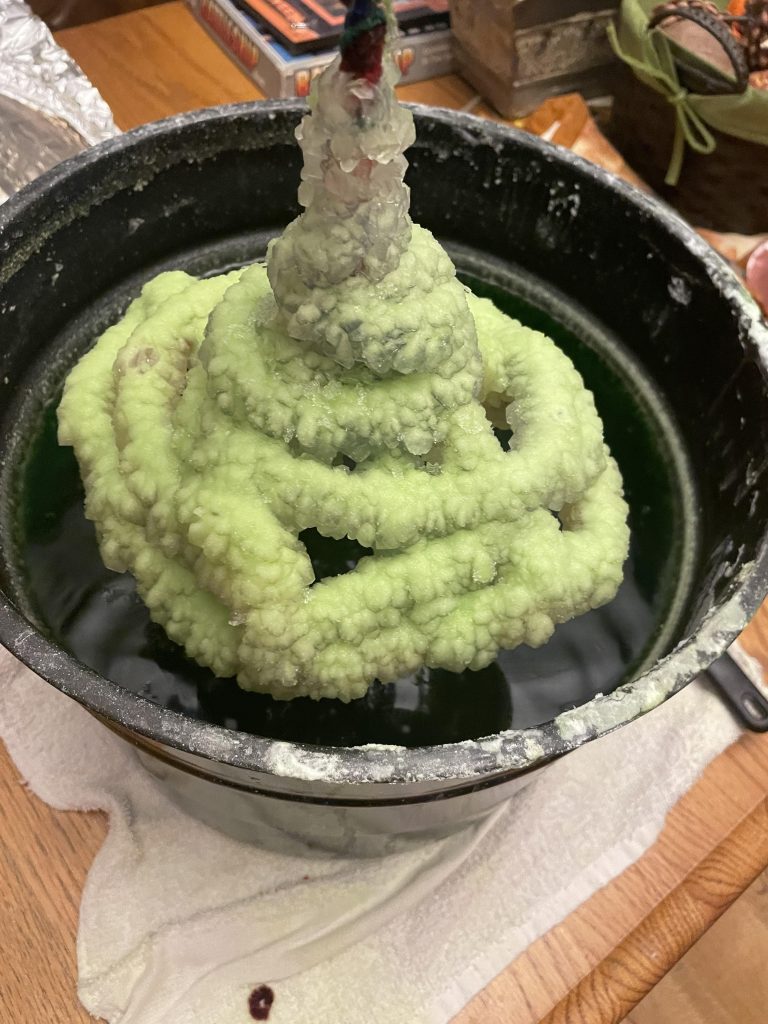
Here is what his crystal for his school project looked like in the end. He took about a month to create it and he re-boiled the solution and reused it to add more crystals. He used green food coloring, and you can see the top crystals aren’t colored. We used a large canning pot to attempt to make a larger crystal. Some of the kids made very large crystal by using a garbage can. His crystal was the heaviest one in his class. He really had a lot of fun with the project.
He used many pipe cleaners to create the cone structure the crystals formed on.
Looking for Other Ideas for Bored Kids?
Check out these other posts:
Educational Toys DIY Science Kits for Kids
DIY Sushi Roll Making Kit Gift for Kids Interested in Culinary Arts
Educational Toys DIY Science Kits for Kids
DIY Slime Kit Gift for Crafty Kids
Books for Teenage Girls to Read Alongside Moms
Kid-Approved Favorite Books for 9-Year-Old Boys
Copyright 2023 Julie Hoag Julie A Hoag Writer. All Rights Reserved.
Follow me on Social Media


Leave a Reply